
In this post, I’ll step through how to get a thermal receipt printer with USB interface appearing on Linux. The aim of this is to be able to point a driver such as escpos-php at the device. The printer used here is an Epson TM-T20, which is very common in point-of-sale environments.
I have previously written quite a bit about how to use thermal receipt printer protocols, but the previous printer I covered had only a network interface, not USB like this one:
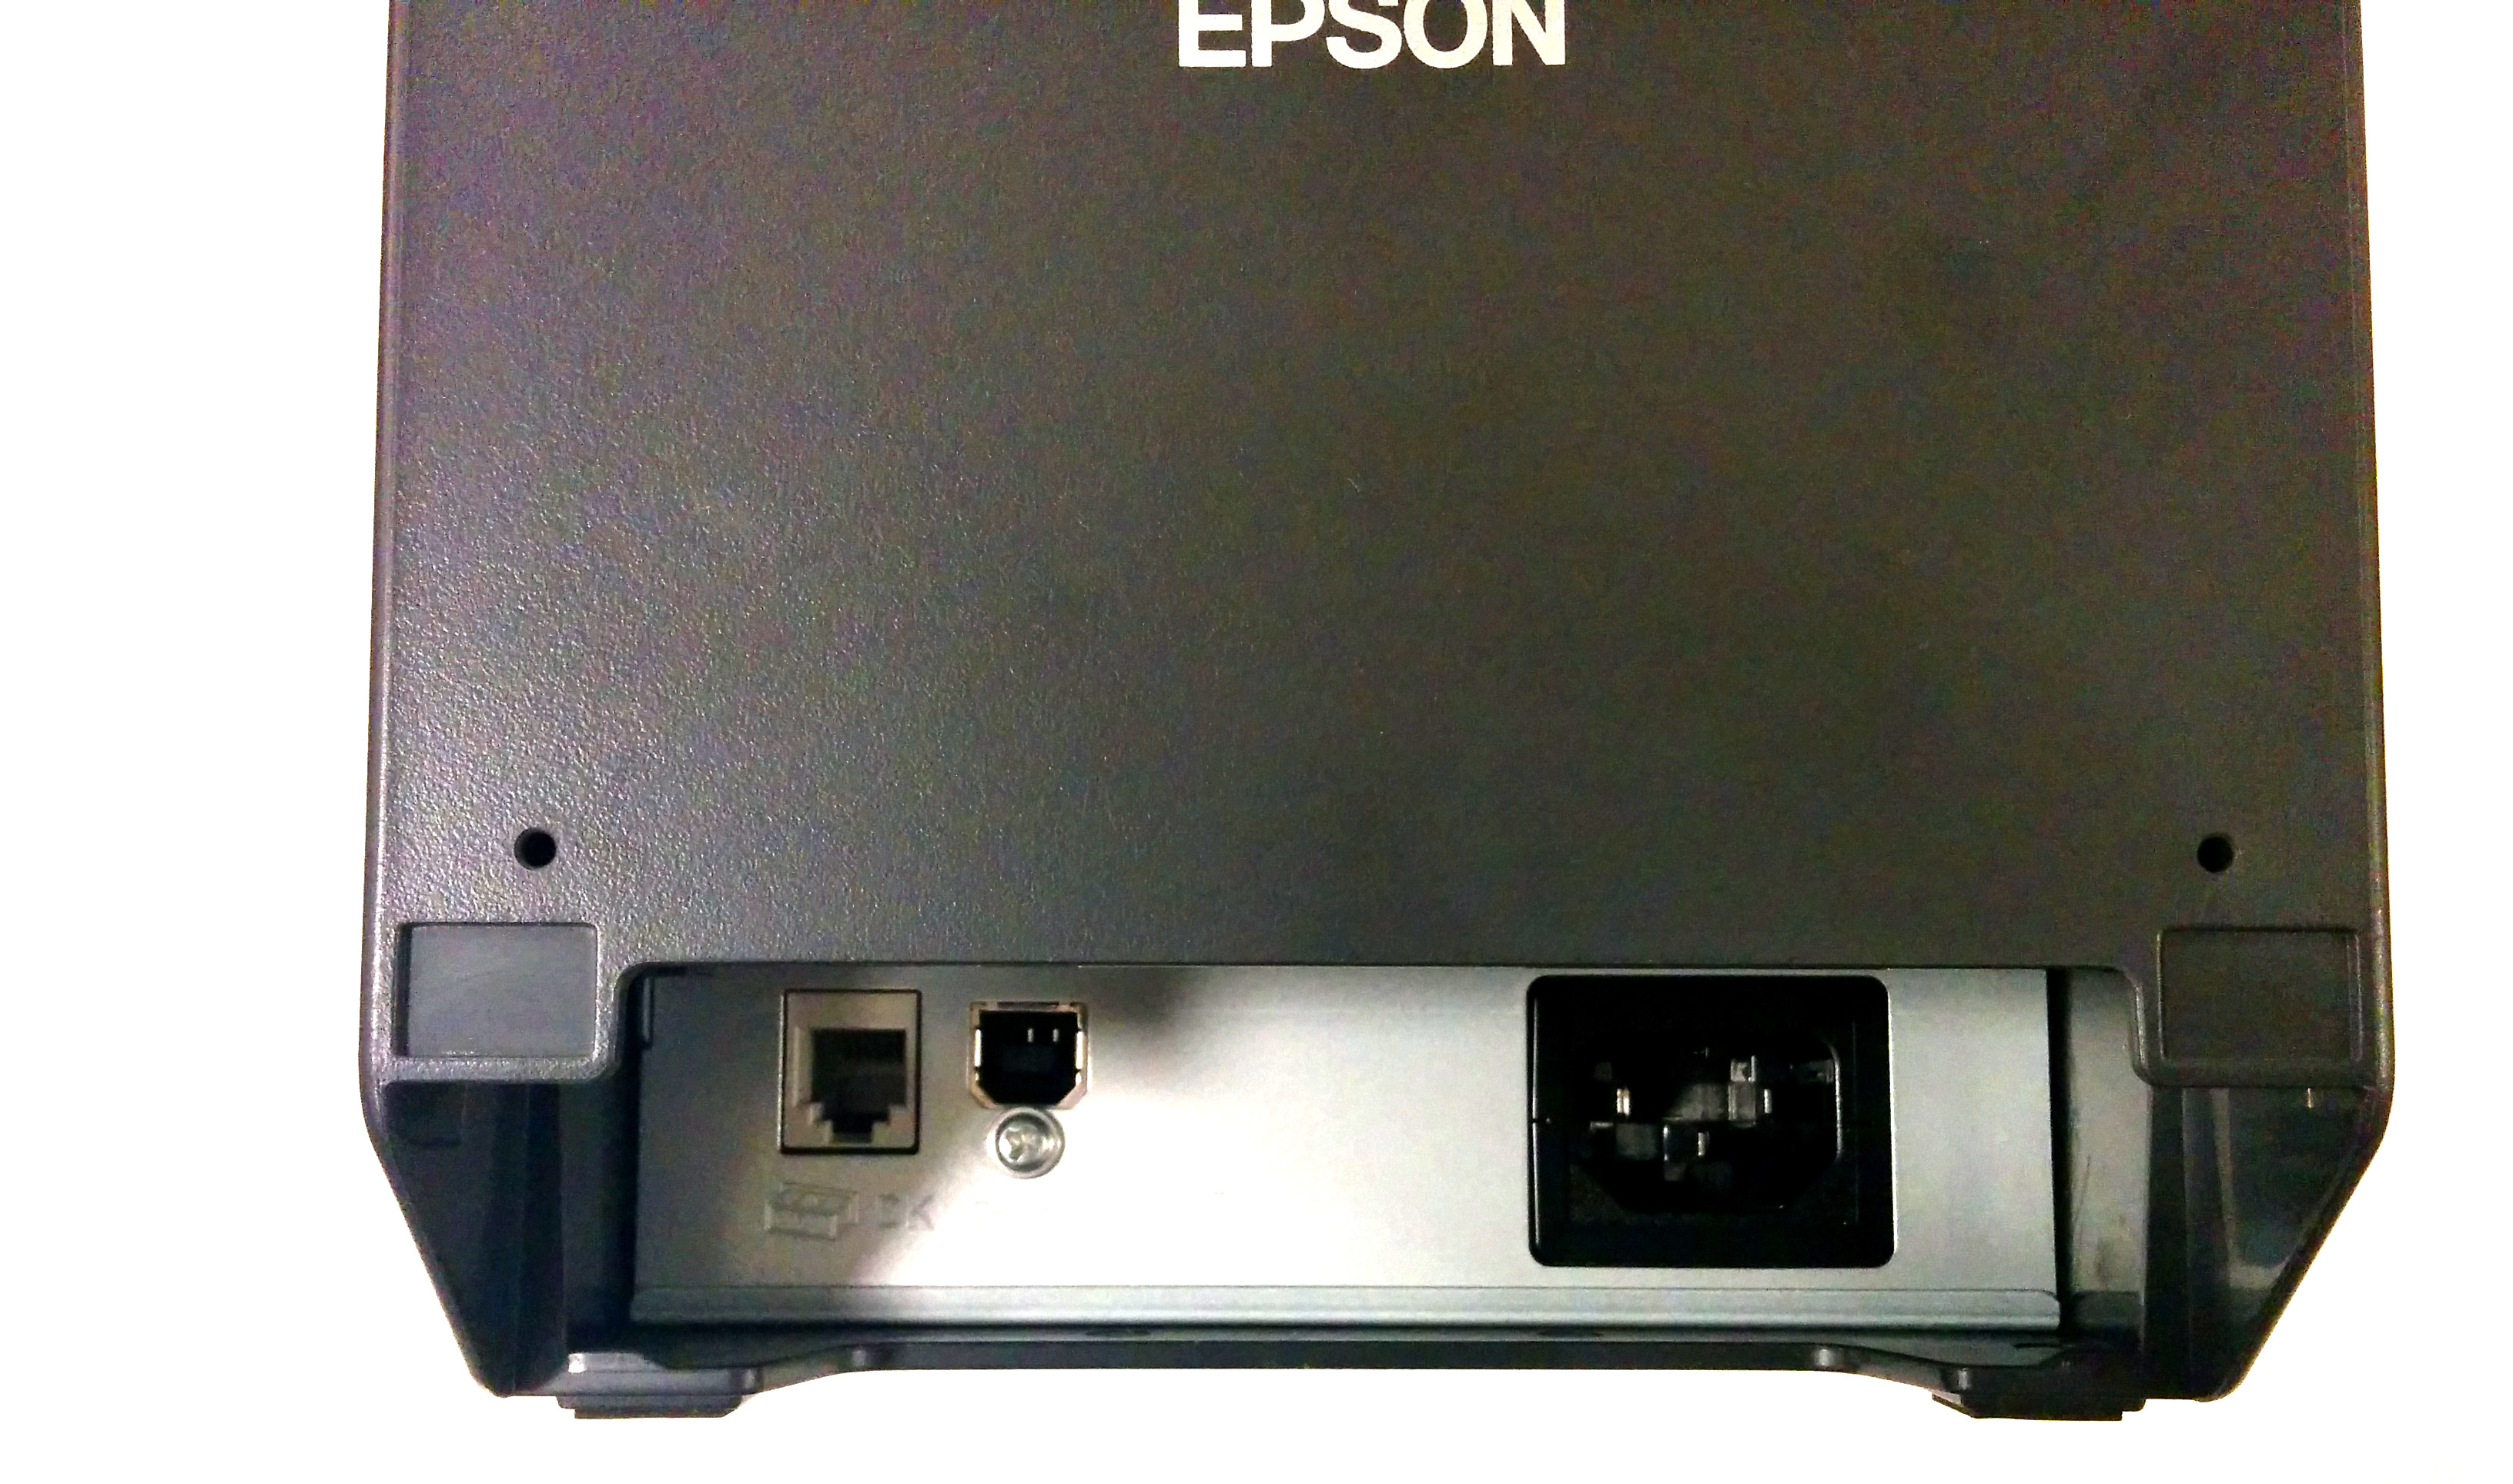
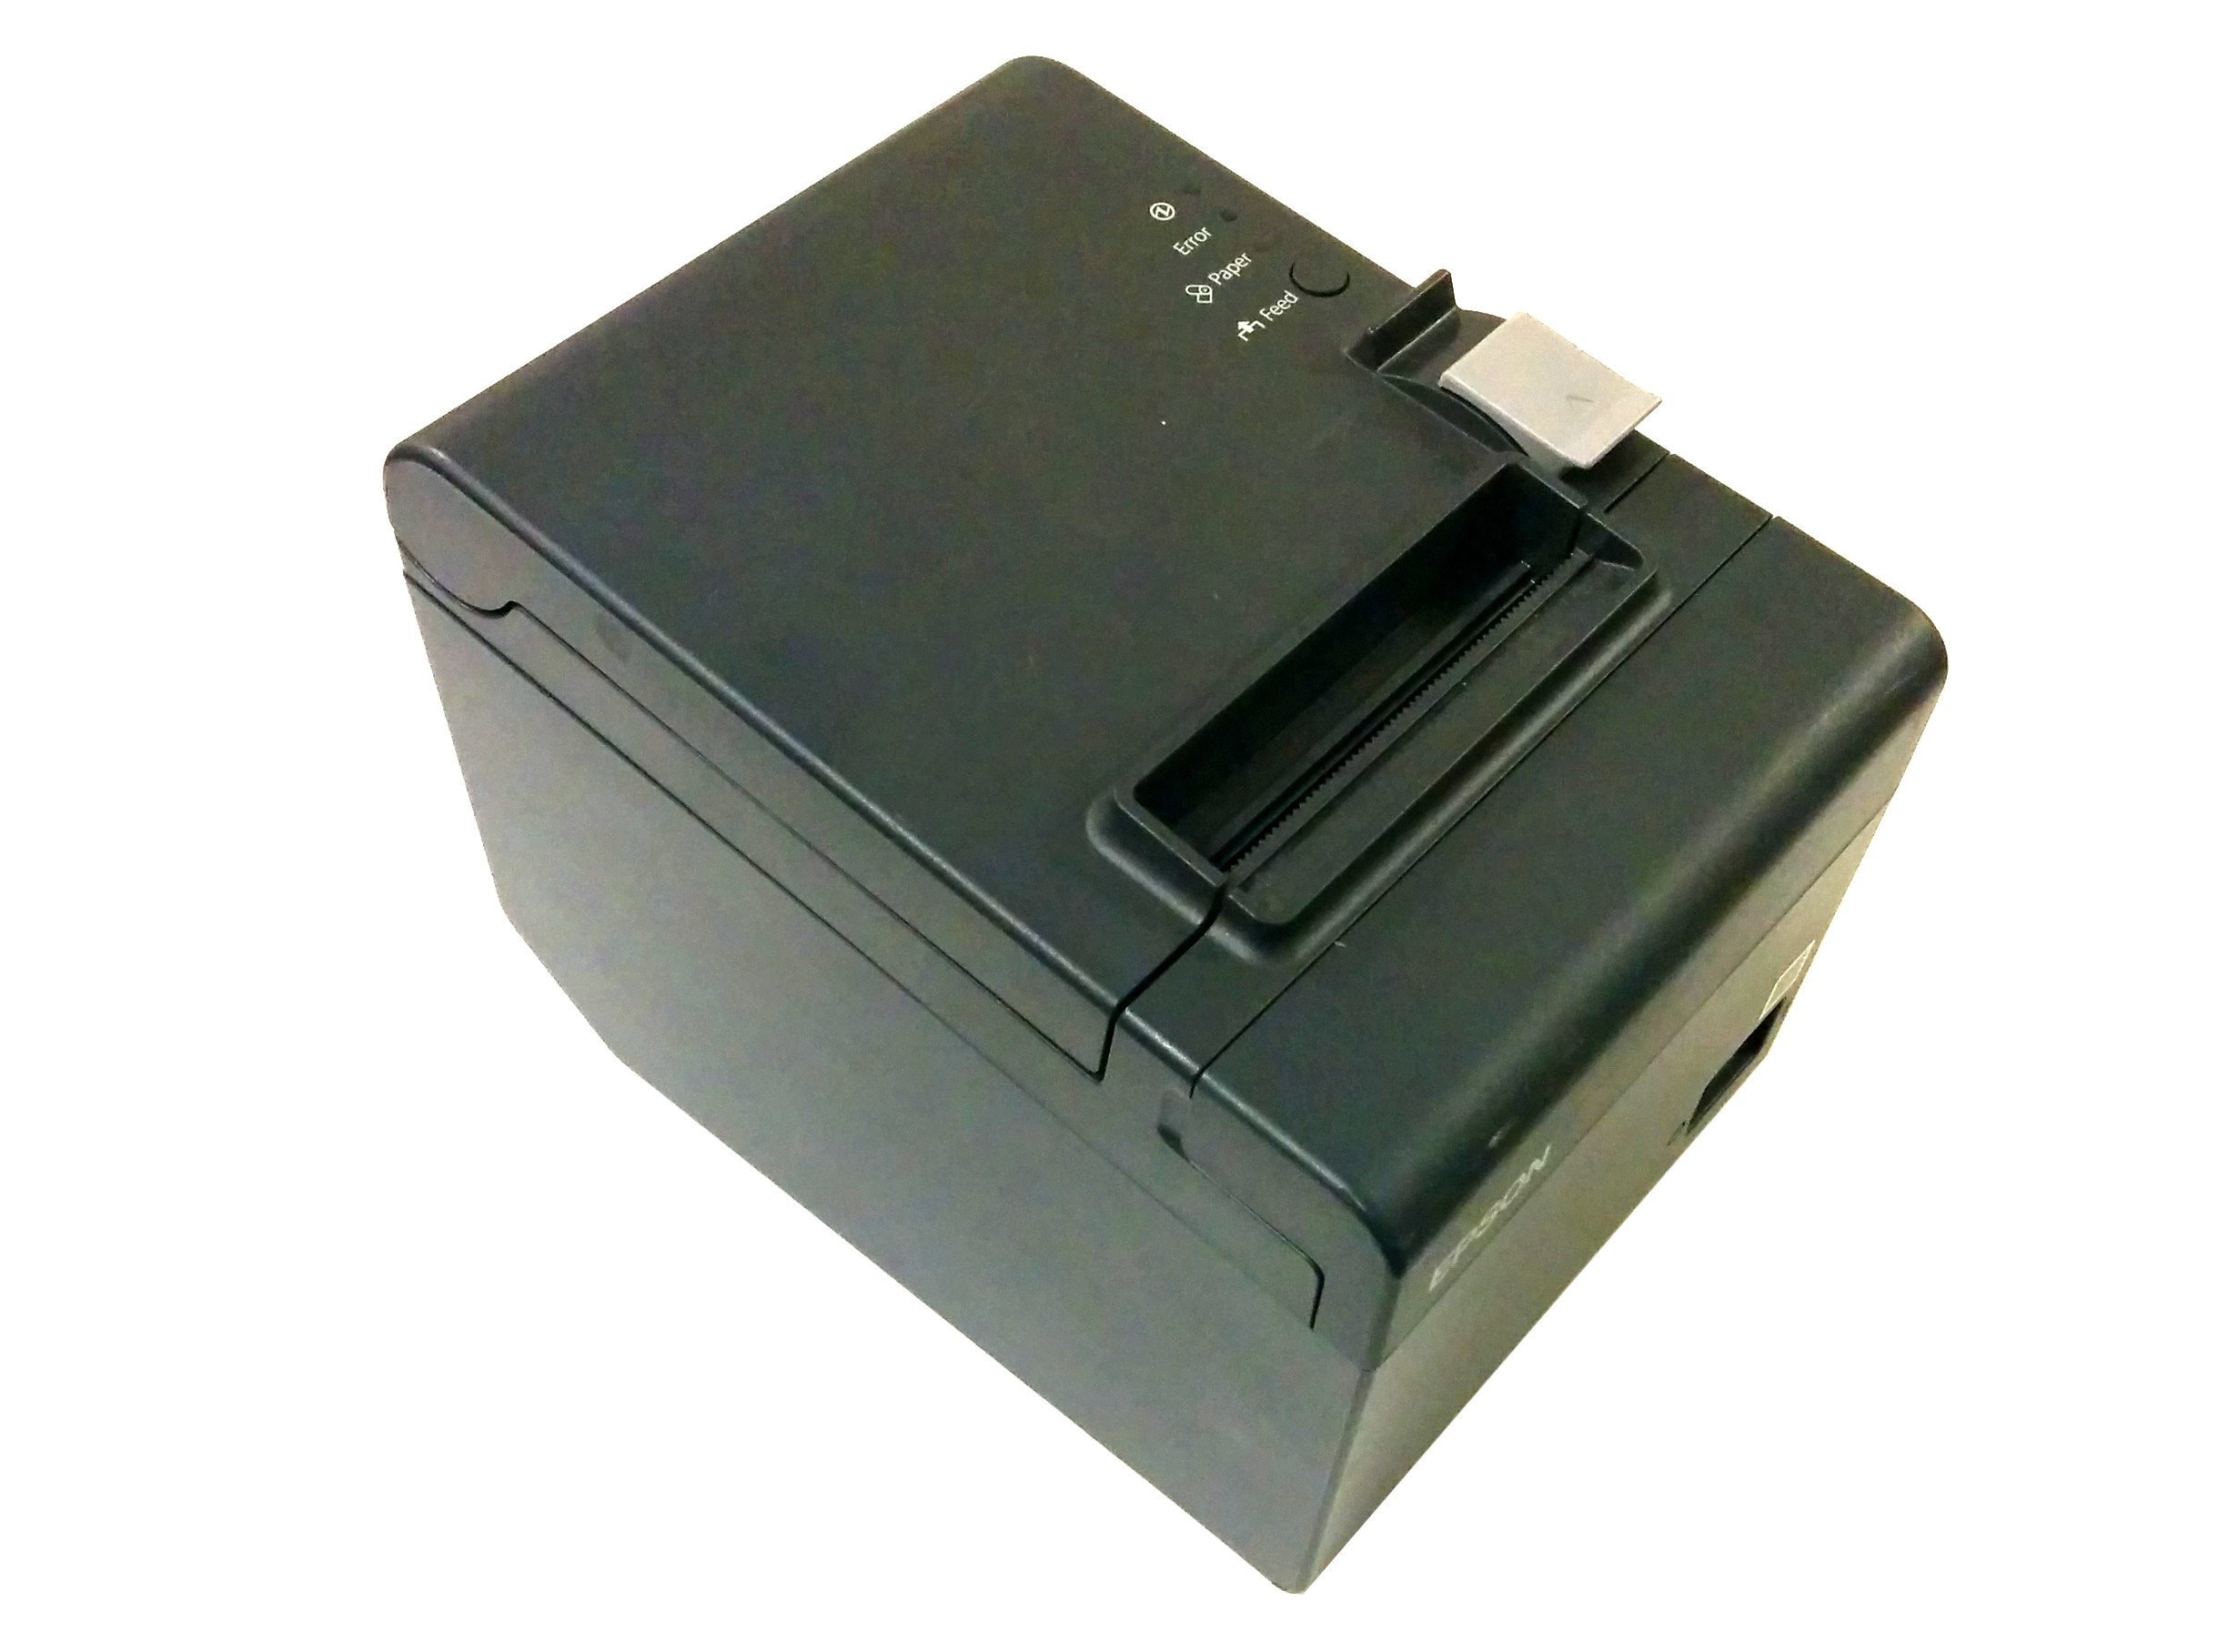
The directions below are for Debian, but could be adapted for any other Linux.
Find the device file
Plug in your printer, and check that usblp sees it:
dmesg
[12724.994550] usb 8-4: new full-speed USB device number 5 using ohci-pci
[12725.168956] usb 8-4: New USB device found, idVendor=04b8, idProduct=0e03
[12725.168963] usb 8-4: New USB device strings: Mfr=1, Product=2, SerialNumber=3
[12725.168968] usb 8-4: Product: TM-T20
[12725.168971] usb 8-4: Manufacturer: EPSON
[12725.168975] usb 8-4: SerialNumber: ....
[12725.175114] usblp 8-4:1.0: usblp1: USB Bidirectional printer dev 5 if 0 alt 0 proto 2 vid 0x04B8 pid 0x0E03
This kernel module makes your printer visible as a device file, so that it can be accessed in the old-fashioned way. Find the new device file under /dev/usb:
ls /dev/usbIn my case, this was /dev/usb/lp1. The next step is to see if you can write to it:
echo "Hello" >> /dev/usb/lp1Chances are, you will get a permission denied error at this point, so find out what group the printer is in:
stat /dev/usb/lp1Which will show output something like:
File: ‘/dev/usb/lp1’
  Size: 0         	Blocks: 0          IO Block: 4096   character special file
Device: 5h/5d	Inode: 220997      Links: 1     Device type: b4,1
Access: (0660/crw-rw----)  Uid: (    0/    root)   Gid: (    7/      lp)
...
This file is owned by group lp (“line printer”). If your username was bob, you would add yourself to this group using:
sudo usermod -a -G lp bobIf you plan to build a web-based point-of-sale system with this, then also add the www-data user to that group.
Now log out and back in, and the previous test should now be working:
echo "Hello" >> /dev/usb/lp1Troubleshooting: Check usblp
Pour avoir le droit d’accès ou exécuter les ficher dans /dev/usb/
pour que le script soit exécuté au démarrage en ajoutant les lignes suivants dans le fichier /etc/rc.local
sudo chown -R root:www-data /dev/usb/
sudo chmod -R 777 /dev/usb/
ou pour creer un fichier sh avec le contenu suivant
!/bin/bash
sudo chown -R root:www-data /dev/usb/
sudo chmod -R 777 /dev/usb/
Si le fichier rc.local n’existe plus. Le démarrage des services se fait avec systemd. Inutile de bidouiller .
Copier le script à un emplacement plus standard :
sudo cp ./exemple.sh /usr/local/bin/
Le rendre exécutable :
sudo chmod +x /usr/local/bin/exemple.sh
Créer un fichier /etc/systemd/system/exemple.service contenant :
[Unit]
Description=AMD GPU Fan speed
[Service]
Type=oneshot
ExecStart=/usr/local/bin/exemple.sh
[Install]
WantedBy=multi-user.target
Activer le service :
sudo systemctl enable exemple.service
Cela devrait être lancé au prochain démarrage.